> ## Documentation Index
> Fetch the complete documentation index at: https://docs.comet.rpamis.com/llms.txt
> Use this file to discover all available pages before exploring further.
# 快速开始
> 安装 Comet,初始化 Native 或 Classic,并用 /comet 进入项目配置的工作流。
本页带你完成最短路径:安装 CLI、以默认 Native 初始化项目、在 Agent 平台里调用 `/comet`。
## 前置要求
* Node.js 22 或更高版本
* npm 或 npx
* Git
* 一个受支持的 AI 编码平台,例如 Claude Code、Codex、Cursor、Gemini CLI、OpenCode 或 ZCode
## 1. 安装 CLI
```bash theme={null}
npm install -g @rpamis/comet
```
检查命令是否可用:
```bash theme={null}
comet --version
```
## 2. 初始化项目
进入你的项目根目录:
```bash theme={null}
cd your-project
comet init
```
项目级初始化会让你选择 Skill 语言和目标平台,然后为新的 Comet 项目默认启用 Native。Native 只安装 Comet 自有能力,并创建:
```text theme={null}
.comet/config.yaml
comet/
```
已有明确 Classic 状态的项目会保持 Classic。也可以显式选择工作流或 Native 产物根目录:
```bash theme={null}
comet init --workflow native --root docs
comet init --workflow classic
comet init --workflow both
comet init --scope global --workflow native
comet init --scope global --workflow both
```
只有 Classic 会安装或配置 OpenSpec、Superpowers 和 CodeGraph。项目级 Native、Classic 或 both 都会安装一份 Comet 工作流 Rule;支持 Hook 的平台只安装一个统一 Router,再按当前 change 路由到对应 Guard。
项目级安装会写入项目默认工作流,适合团队共享。global 安装允许选择要全局提供的 Native 或 Classic
能力,但不会替任何项目选择默认工作流。非交互 global 安装未传 `--workflow` 时仍默认使用 Classic。
## 3. 调用 `/comet`
打开你的 Agent 平台,在项目里输入:
```text theme={null}
/comet 实现用户资料页的头像上传能力
```
`/comet` 会读取 `.comet/config.yaml`,确定性转发到 `/comet-native` 或 `/comet-classic`,并完整保留你的原始请求。默认 Native 会创建自有 change,用 Shape → Build → Verify → Archive 管理需求、完整目标规格、证据和归档,同时把实现方法交给强模型自主决定。
```mermaid theme={null}
flowchart TD
A["/comet 用户目标"] --> B["读取 .comet/config.yaml"]
B -->|native| N["/comet-native"]
B -->|classic| C["内部进入 /comet-classic"]
N --> NS["Shape → Build → Verify → Archive"]
C --> CS["open → design → build → verify → archive"]
```
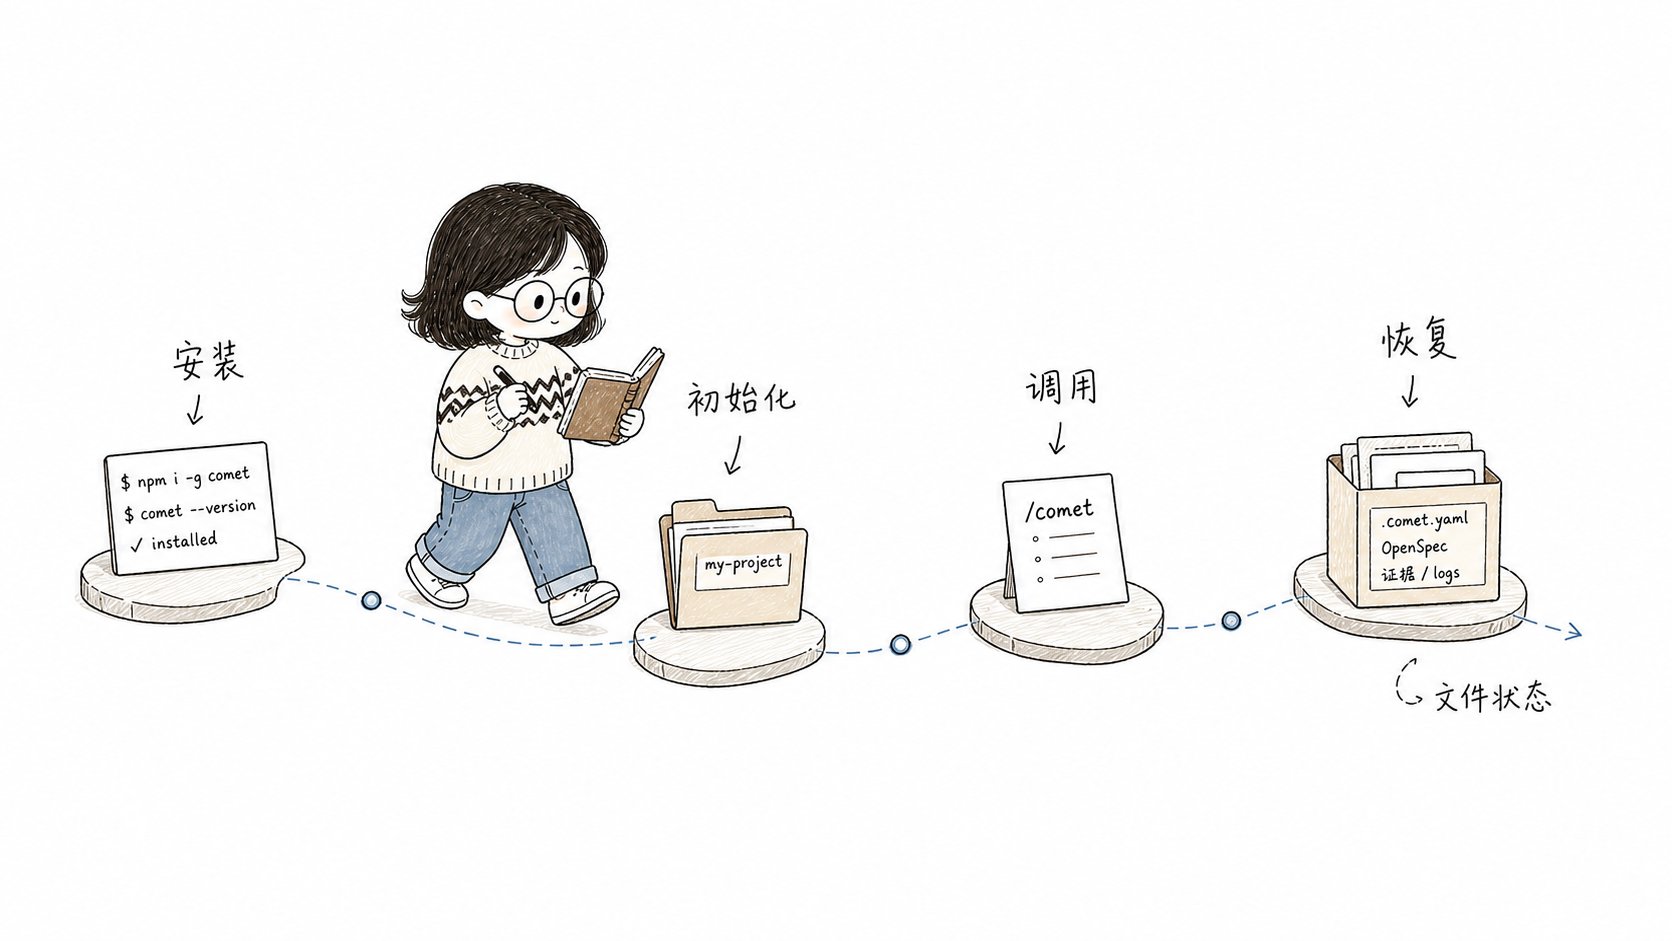
快速开始只需要记住安装、初始化、调用 `/comet` 和从文件状态恢复这条短路径
## 4. 查看状态
任何时候都可以运行:
```bash theme={null}
comet status
```
你会看到默认入口,以及彼此分开的 Native、Classic 和未托管 OpenSpec changes。状态异常时再运行:
```bash theme={null}
comet doctor
```
## 5. 继续中断的工作
如果会话中断,重新打开项目后输入:
```text theme={null}
/comet 继续
```
Comet 会先解析项目默认工作流,再从对应 change 和运行证据继续;不会跨到另一套工作流。
## 下一步
* 想理解强模型的轻量流程:详见 [Native 工作流](/zh/concepts/native-workflow)。
* 需要经典五阶段强约束:详见 [Classic 工作流概念](/zh/concepts/workflow)。
* 想做快速修复:详见 [hotfix 预设](/zh/presets/hotfix)。