

How is this stage triggered
/comet-build is commonly connected automatically by /comet-classic.
Default: Use /comet for automatic connection
After exiting the design phase (phase: build), /comet-classic will automatically connect and call /comet-build. The next time /comet-classic is called, if phase: build is detected or there is a Design Doc but the execution is not completed, it will also be routed to build — hotfix to run /comet-hotfix, tweak to run /comet-tweak, and full to run /comet-build. For details, please refer to Automatic Propulsion Mechanism
Manual: When is direct /comet-build needed
- When the auto-connection (
auto_transition: false) is turned off,/comet-classicwill stop and print hints after the design is completed. - I just want to run build alone (restore a change of
phase: buildto continue execution). - After the verify failure, if you roll back through
comet-state transition verify-fail, you need to re-enter the build to fix it.
/comet normally; The stage command is directly invoked only during the manual control stage. **
What will you experience
There are 2 pause points in the build phase (globally numbered 6-7, with a total of 10 in the entire five-stage workflow. See Five-stage pause Points and User Selection points ). The following is an explanation in the order of occurrence.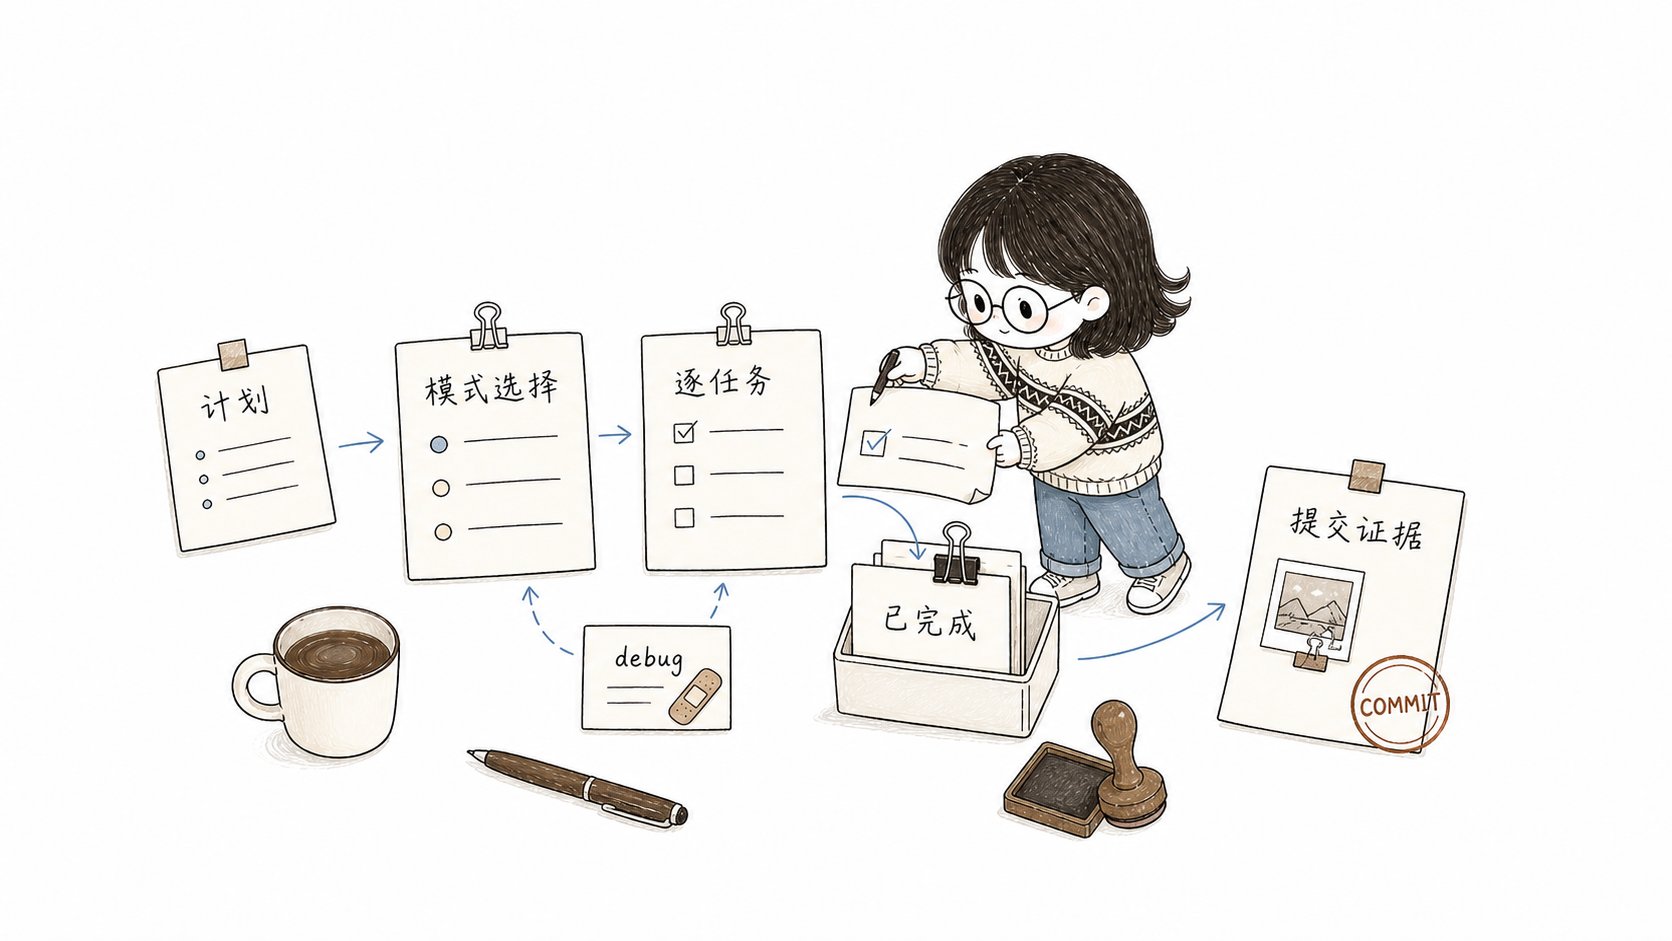
During the build phase, the plan is broken down into task cards, which are executed one by one, debugged, checked, and the submission evidence is left
Step 0: Entry status verification
base-ref and grep in the head of the plan to find the first unfinished task. Idempotence: A submitted task will not be resubmitted.
Step 1: Create an implementation plan
Comet assigns a sub-agent to load thewriting-plans write plan (this does not occupy the main session context), and when the sub-agent fails, it falls back to the main session for inline loading. The frontmatter plan must include:
Pause point 6: Build joint decision (plan-ready)
After the plan is written, Comet ** Pause for your choice ** :Pause point 7: Select three execution modes at once
After confirming to continue, Comet asks you the three execution options at once (not in three separate questions). Workspace isolation is not among them - it was already determined in the workspace decision (pause point 3) of the open phase: the choice is written toisolation, the current branch of the actual execution directory is recorded as bound_branch, and the build phase only verifies that the current directory and branch match, without silently switching directories. When branch is chosen, the branch name is confirmed in the open phase as well (the hotfix/tweak presets default to hotfix/YYYYMMDD/<name> / tweak/YYYYMMDD/<name>).
1. Execution Mode (build_mode
2. TDD Mode (tdd_mode
3. Review Mode (review_mode
For details, please refer to Code Review Mechanism
Step 3: Execute task by task
After selection, pressbuild_mode to execute. The experiences of the two execution methods are different:
The sub-agent (implementer) cannot select the task by itself
— Only the main session is selected after the two-phase acceptance is passed. The reviewer received the complete task plus its implementation
commit/diff + RED/GREEN evidence (in TDD)
One cannot draw a conclusion based solely on the summary of the implementer.
Step 3b: Abnormal Debugging Protocol (Mandatory)
When a crash, test failure, build failure or abnormal behavior occurs during execution, Comet forces the loading ofsystematic-debugging:
- ** First identify the root cause ** - Read the complete error, check the recent changes, and trace the data stream. No fixes shall be proposed until the root cause investigation is completed. **
- When the root cause is a bug in the source code, first add a minimum failure test to reproduce it, and then fix the source code.
- After completing the run failure test, related tests, and project build/verification command confirmation, all passed.
- Failed tests, source code fixes, and the tasks.md checkmark are all kept within the current change. Do not open a new “Write Test Cases “change to replace the current verification loop.
Parallel troubleshooting of multiple failures
Before entering the four-stage process, conduct a “failure independence assessment” first to determine whether it is serial or parallel:
When the parallel condition is met:
- Load Superpowers
dispatching-parallel-agentsusing the Skill tool. - For each independent failure, assign a background troubleshooting agent (grouped by problem domain and all dispatched in the same response for concurrent execution). Each prompt contains the complete context (specific failure, error message, allowed troubleshooting scope, and prohibition of touching other problem domain code).
- All agents are still subject to the constraint that “the source code cannot be modified before the root cause is located” - they only ** locate the root cause and return the discovery **, and do not directly submit the fix.
- After all the troubleshooting returns, the main session ** serially ** summarizes the discovery and fixes. The repair still follows the current verification and review cycle of
review_mode.
Step 4: spec Incremental update
When it is found during execution that the spec needs to be modified, handle it according to the scale:Step 5: Check + Submit
For each task: Execute bybuild_mode → Review by review_mode (if applicable) → ** Main session ** check tasks.md → Submit. Check “Use directional Verification”
grep -c '\- \[ \]' tasks.md to check the remaining unselected numbers.
Exit
phase: verify, and set verify_result: pending.
The invoked skill
Product
Exit condition (phase guard check)
- Check all of tasks.md
- The code has been submitted.
- Explicitly run the project build/test command and pass (do not rely solely on guard’s automatic guessing)
isolationiscurrent,branchorworktree, and the current Git branch is consistent withbound_branchbuild_modeselected (for subagent mode,subagent_dispatch: confirmedis required)tdd_modehas been selectedreview_modeselected (forthorough, segmented reviews have been completed every 3 tasks and CRITICAL/IMPORTANT issues fixed, or non-CRITICAL acceptance reasons recorded; forstandard/off, the corresponding reasons have been recorded)
npm run build, Maven or Cargo) and take the failed output as evidence. .comet.yaml and the repository root configuration no longer support build_command / verify_command; when you need a fixed team-level verification process, put it in the project’s own build script.
”Restore
Build is idempotent. When resuming,grep -n '\- \[ \]' tasks.md | head -1 finds the first unfinished task. For build_pause: plan-ready, see Pause point 6. After context compression, run comet-state check <name> build --recover to restore context. In subagent mode, reread .comet/subagent-progress.md to recover the current task and review round; do not execute tasks directly in the main session. If a full workflow stops at plan-ready, first confirm the existing workspace binding, then complete or confirm build_mode, tdd_mode, and review_mode.
Recommended path
Next step
- verify stage - Enter verification after the build is completed
- Detailed Explanation of the Code Review Mechanism ](/en/concepts/review-mode) - review_mode
- State management — build_mode/isolation/tdd_mode field
- Five-stage pause points and user selection points ](/en/concepts/decision-points) - the pause points of build